LawToolbox Matter Activation and Training
Do the below steps only after the final import and final index are completed by LawToolBox
Pre-requisite:
M365 Admin: Import matters and deadlines into LawToolBox
Step 1: Activate Matter
- Open LawToolBox and find an imported matter in "Firm Matters"
- Click on the matter name to open the matter menu
- Chose "create group"
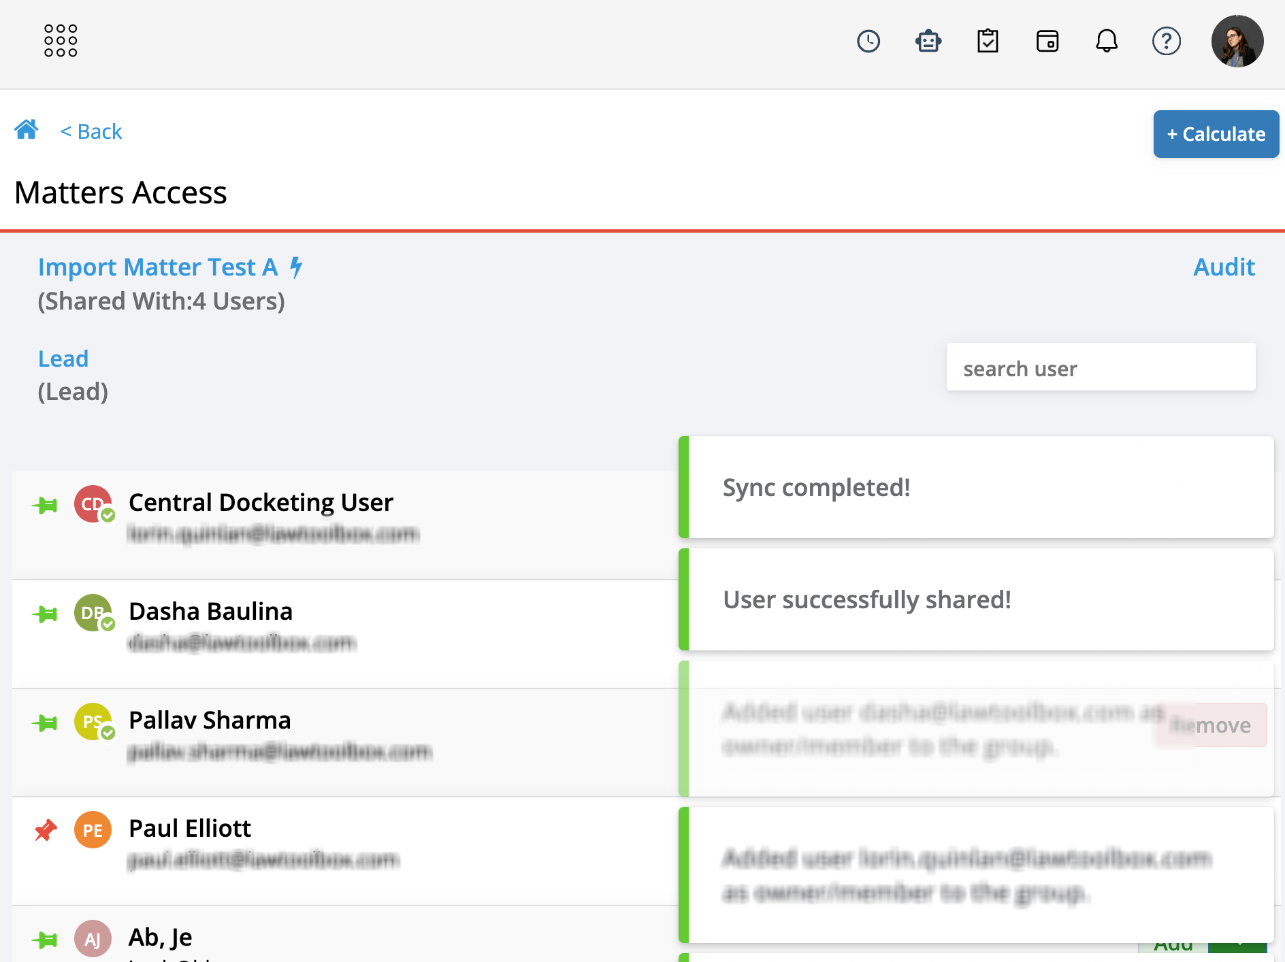
Step 2: Share Matter
- Verify users on the matter (if imported)
- Use type ahead to choose additional attorneys and staff to add to the case
- Note, If you have users pinned, they will show at the top across all your cases
Step 3: Apply Ruleset
- Select your state and ruleset
- Run new calculations
Step 4: Sync Deadlines
- Click on the matter name to re-open the matter menu
- Click "View and Edit Deadlines"
- Click Sync > Add selected for upcoming events
Step by step:
___________________________________________________________________
Step 1: Activate Matter (Create Group)
- Go to app.lawtoolbox.com > sign in
- Go to "Firm Matters"
- Click on the matter name with a flashing triangle (imported matter)

- Click Create Group

___________________________________________________________________
Step 2: Share matter
- Add any additional people to the matter when needed
- If users were added to the matters during the import, they will automatically be added
___________________________________________________________________
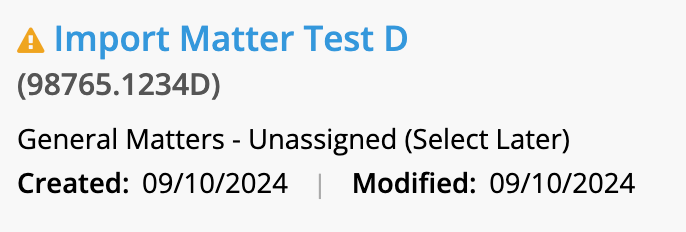
Step 3: Apply State & Ruleset
Assign a ruleset from the default selection
- General Matters - Unassigned (Select Later)
- To a Ruleset that governs your matter
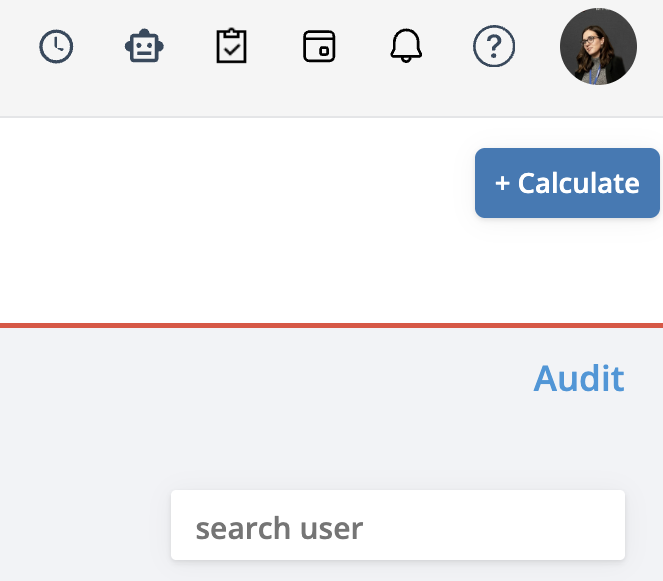
Click +Calculate or on the matter name and go to "Add Calculation"
 | 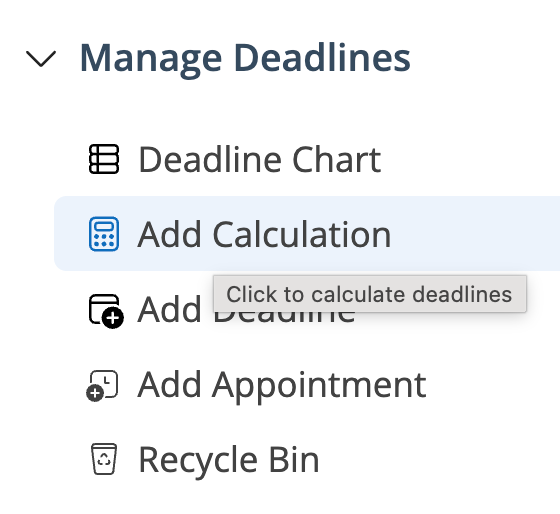 |
- Select state and ruleset when you need to calculate deadlines
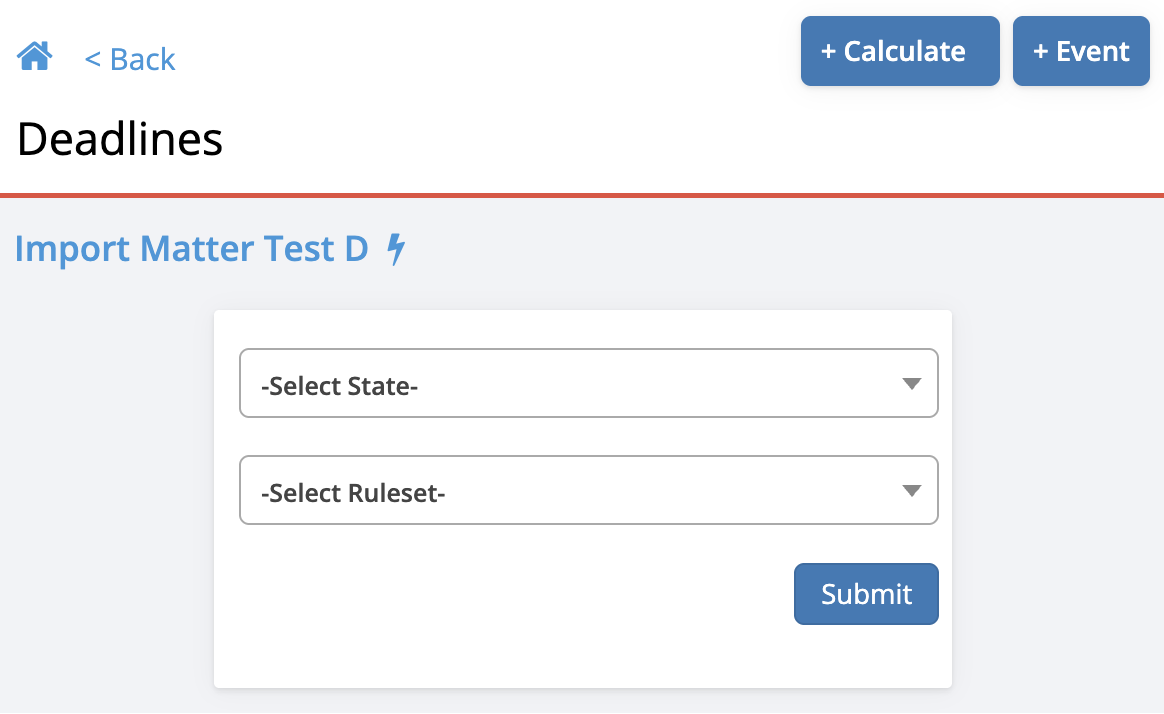
- Submit:
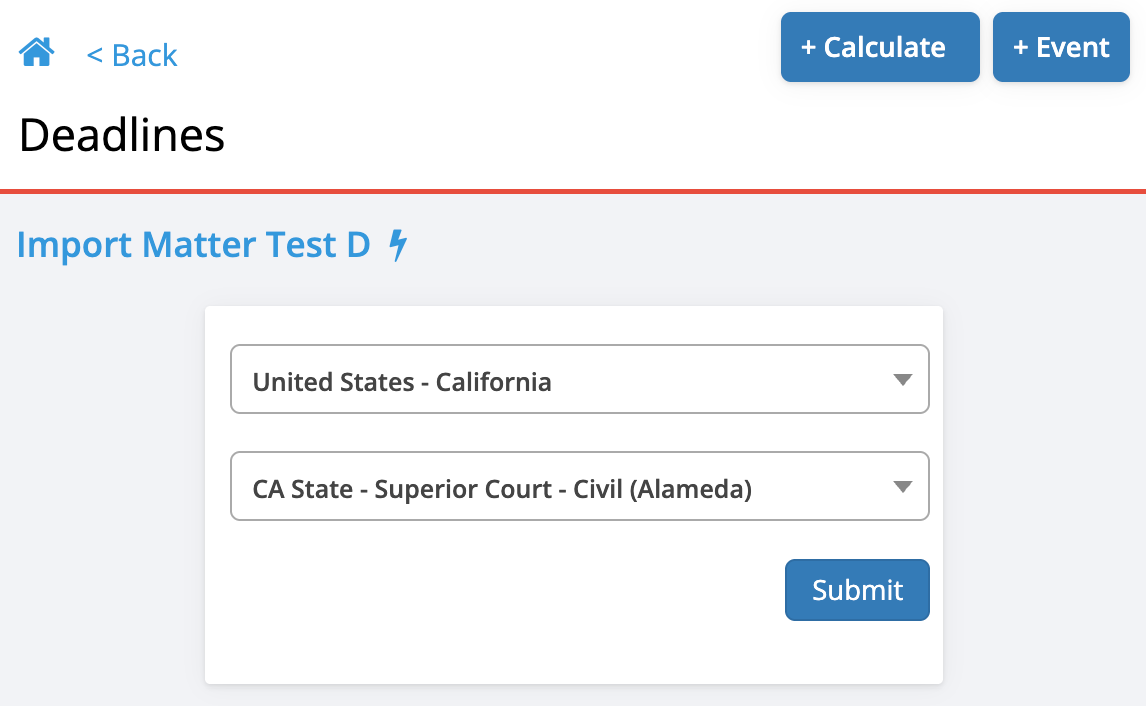
Now, new calculation will run off the selected ruleset
If you need to update the ruleset at any point, see FAQ - Calendar - How to change a rule-set to a different court
Done!
___________________________________________________________________
Phase 2
*Skip if you did not do the deadline import*
*Skip if you events are already ON OUTLOOK*
___________________________________________________________________
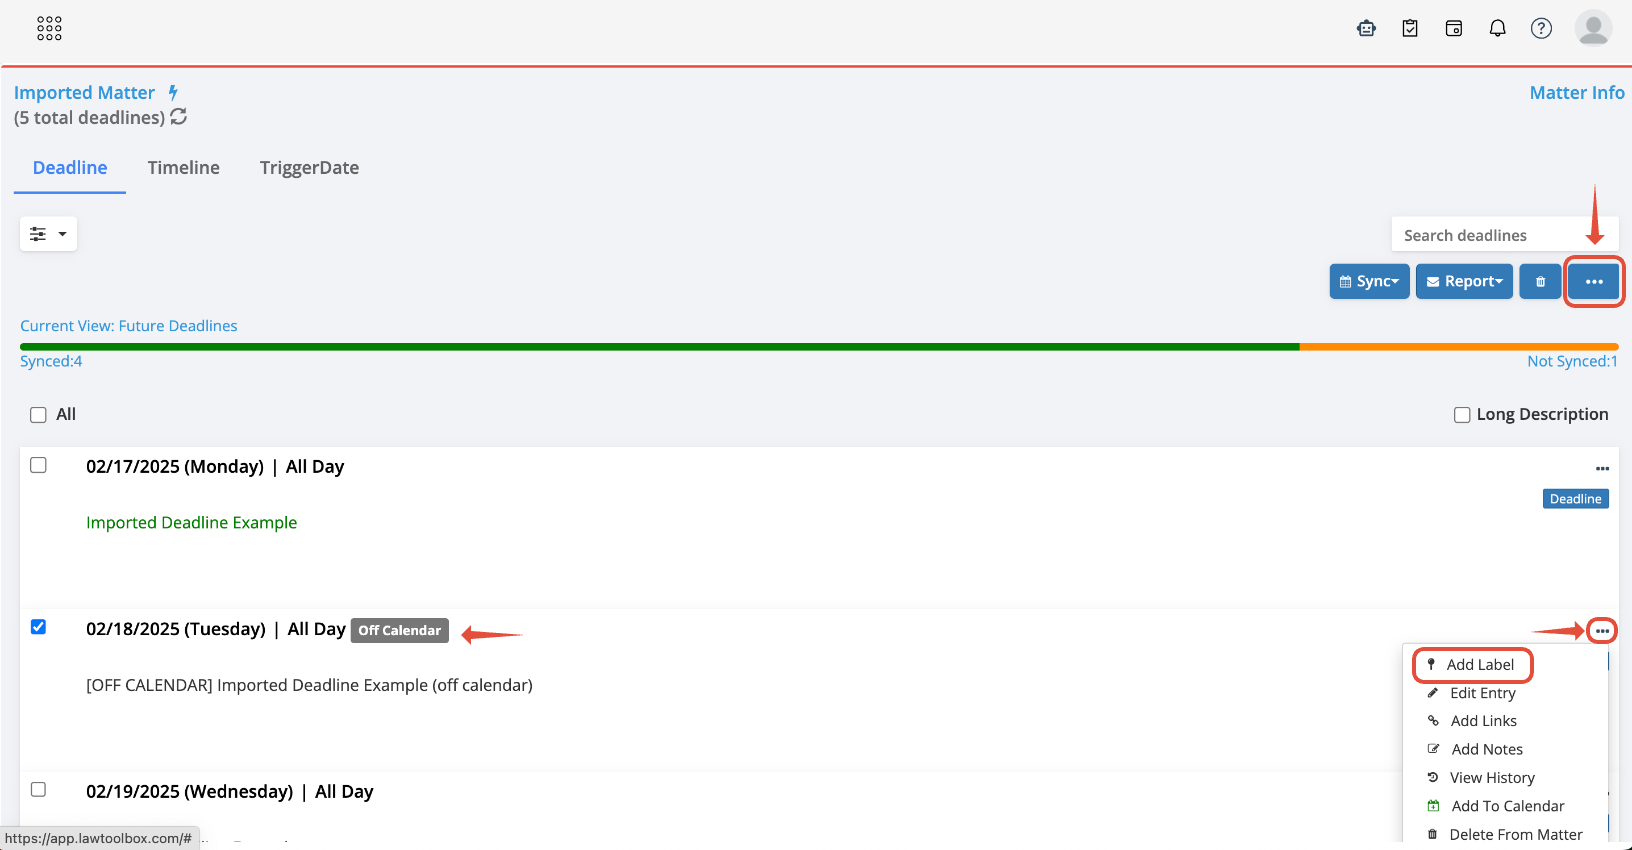
Step 4: Sync Deadlines
- Look for matters with the orange status bar (indicate future deadlines):

- Click matter name to select "Deadline Chart'

- Click Sync > Add Selected

- Repeat for all matters to show as green:

___________________________________________________________________
*Skip if you did not do the deadline import with "off-calendar" entries*
Moving Deadlines Off-Calendar
After adding all upcoming deadlines to outlook, you can quickly see if there are any deadlines designed to remain off calendar. This would have been added to your data as part of your import
A highlight of options for when we want to remove deadlines from the outlook calendar, but keep them on the LawToolBox Deadlines Chart
- For multiple deadlines select all entries that apply, click sync and remove selected. Use search for quick access:


- For Individual deadlines, clcik the three dot ellipsis to "Remove from calendar":


You can use the label feature for any events removed from the calendar as "Off Calendar" for visibility and organization in LawToolBox. You can label deadlines individually, or select multiples to use the ellipsis at the top of your deadline chart.
Please review the following FAQ for more information on using labels - FAQ - Edit - Add labels to your deadlines